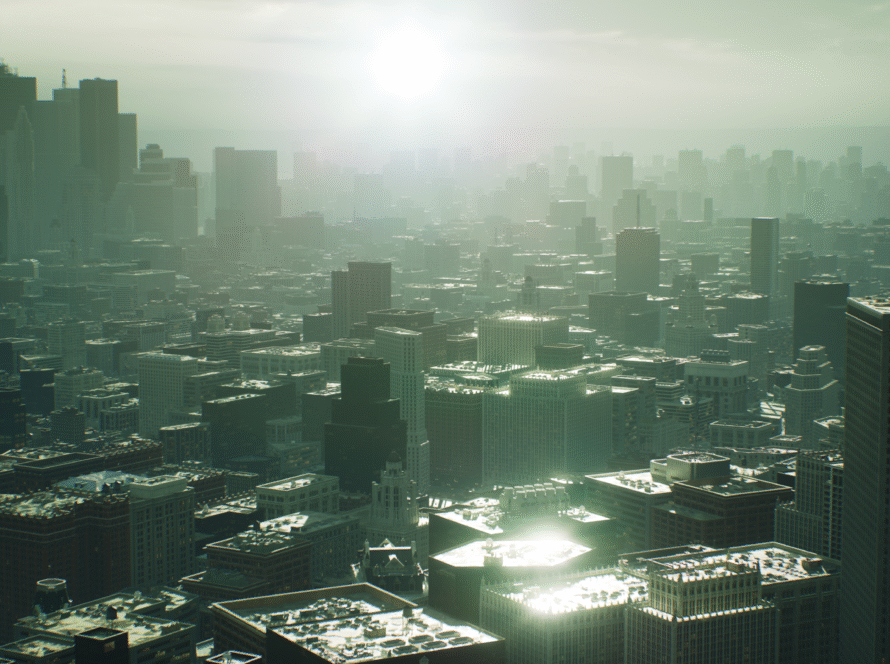
For decades, architectural visualization artists chased a holy grail: creating images indistinguishable from reality. We wrestled with complex light bounces, sacrificed detail for render times, and battled the “uncanny valley” of CGI. Then, Unreal Engine 5 arrived with Lumen and Nanite—not just tools, but quantum leaps. Suddenly, real-time photorealism isn’t just possible—it’s achievable faster than ever. Let’s dive deep into mastering these game-changers.
Why Photorealism Matters (Beyond Just Looking Pretty)
Photorealism isn’t vanity—it’s empathy. It lets clients feel a space before it’s built. It conveys texture, scale, and atmosphere with visceral impact. Traditional ray-traced renders took hours (or days!). Now, UE5 lets us iterate in real-time, responding to feedback instantly while maintaining cinematic quality. The result? Confident decisions, thrilled clients, and art that breathes.
Demystifying the Magic: Lumen & Nanite Explained
🌟 Lumen: Dynamic Global Illumination (GI) on Steroids
Forget pre-baked lightmaps. Lumen simulates real light physics:
- Bounced Lighting: Light ricochets off surfaces, coloring shadows (e.g., a red couch tinting white walls).
- Sky Atmosphere: Real-time sun angles and sky color affecting interior mood.
- Emissive Power: Light fixtures actually emit light—no fake glow planes needed.
Why it’s revolutionary: Adjust a window’s position at noon, and shadows, caustics, and ambient warmth update instantly. No re-renders.
💎 Nanite: Geometry Without Limits
Nanite murders the polygon count anxiety. Import a 10-million-poly statue? No problem.
- Virtualized Geometry: Streams only visible detail—no GPU meltdowns.
- No LODs Needed: Automatically reduces distant geometry complexity.
- Pixel-Perfect Detail: ZBrush-level sculpts visible up close.
Real-world impact: Scan real-world materials (brick, stone) with photogrammetry and drop them straight into your scene. No retopology.
Your Photorealism Workflow: A Step-by-Step Deep Dive
🛠️ 1. Scene Setup: Foundations First
- Start with Quixel Megascans: Leverage free, photoscanned assets (rocks, concrete, wood). They’re Nanite-ready and calibrated for realism.
- Enable Lumen & Nanite: In UE5’s Project Settings:
- Renderer → Enable Hardware Ray Tracing (for GPU acceleration).
- Nanite → Check Enable Nanite Support.
- World Settings: Set Lighting Mobility to Movable (critical for Lumen dynamics).
Pro Tip: Use Modeling Mode (Shift+5) to kitbash structures without leaving UE5.
💡 2. Lighting Mastery: Where Lumen Shines
A. Natural Light:
- Directional Light = Sun: Adjust intensity (lux) and temperature (6500K for noon).
- Sky Atmosphere Actor: Drag into your scene. Tweak Aerial Perspective for atmospheric haze.
- HDRI Backdrop: Use a Rect Light with an HDRI texture for realistic ambient fill.
B. Artificial Light:
- Rect Lights: Perfect for LED panels and windows. Set Intensity realistically (e.g., 5000 lumens for a downlight).
- IES Profiles: Import manufacturer light profiles for accurate beam spread.
- Emissive Materials: Make neon signs glow by setting Emissive Intensity (e.g., 10+ cd/m²).
Lumen Settings Tweaks:
- Increase Final Gather Quality (Render Settings → Global Illumination) to reduce noise.
- Enable Hardware Ray Tracing for sharper reflections.
🧱 3. Nanite in Action: Detail Without Compromise
- Importing Assets: Check “Import as Nanite” for static meshes.
- Proxy Workflow: For complex scenes, use Nanite Proxy meshes—UE5 handles subdivision dynamically.
- Displacement: Pair Nanite with Virtual Heightfield Mesh (VHM) for real-time terrain tessellation.
Critical Tip: Nanite dislikes deformations. Use traditional meshes for animated elements (swaying trees, doors).
🎨 4. Materials & Textures: The Soul of Realism
Lumen’s GI reacts to materials. Cut corners here, and your scene dies.
- PBR Workflow is King:
- Roughness Maps: Avoid plastic-y surfaces. Real materials have micro-variation (e.g., smudged glass).
- Normal Maps: 16-bit for finer details (scratches, fabric weave).
- Parallax Occlusion Mapping (POM): Add fake depth to bricks/tiles without geometry.
- Substrate (Experimental): UE5.2+’s layered material system for complex surfaces (e.g., dusty metal, layered paint).
Quixel Bridge Hack: Download “Surface Imperfections” packs—add water stains, fingerprints, or dust to break up perfection.
🖌️ 5. Post-Processing: The Final 10% That Matters 90%
Your render looks good? Post-Process Volume makes it photoreal:
- Lens Effects:
- Bloom: Subtle! (Intensity 0.1–0.3).
- Chromatic Aberration: 0.1–0.15 max—don’t overdo it.
- Color Grading:
- LUTs: Apply a mild cinematic LUT (avoid over-stylized).
- Contrast: Use S-Curves in the Color Grading panel.
- Screen Space Effects:
- SSGI: Boost Lumen’s bounce accuracy.
- Screen Space Reflections: Enable for extra-refined metals/glass.
⚠️ Common Pitfalls & How to Dodge Them
- Flickering Shadows:
- Fix: Increase Shadow Map Size or enable Virtual Shadows.
- Lumen Noise:
- Fix: Raise Spatial Sample Count (Performance cost!) or use Temporal Accumulation.
- Nanite Artifacts:
- Fix: Disable Nanite on alpha-cutout materials (foliage).
- “Flat” Lighting:
- Fix: Add Subtractive Light Placement—dark corners create contrast.
The Future is Now (And It’s Real-Time)
Lumen and Nanite aren’t just features—they’re a paradigm shift. We’re no longer fighting the engine to approximate reality; we’re collaborating with it to simulate reality. The result? Faster workflows, creative freedom, and visuals that resonate emotionally.
“Photorealism isn’t about tricking the eye—it’s about capturing the soul of a space.”
Start small: recreate a corner of your room. Master light. Obsess over texture. Fail, tweak, and watch in awe as pixels transform into poetry. The tools are here. The revolution is real.
Ready to experiment? Download UE5, grab free Quixel assets, and join the photorealist renaissance. Share your breakthroughs with #LumenNaniteRevolution!
Enjoyed this guide? Subscribe for deep dives on UE5’s Path Tracing, Virtual Production, and more!

