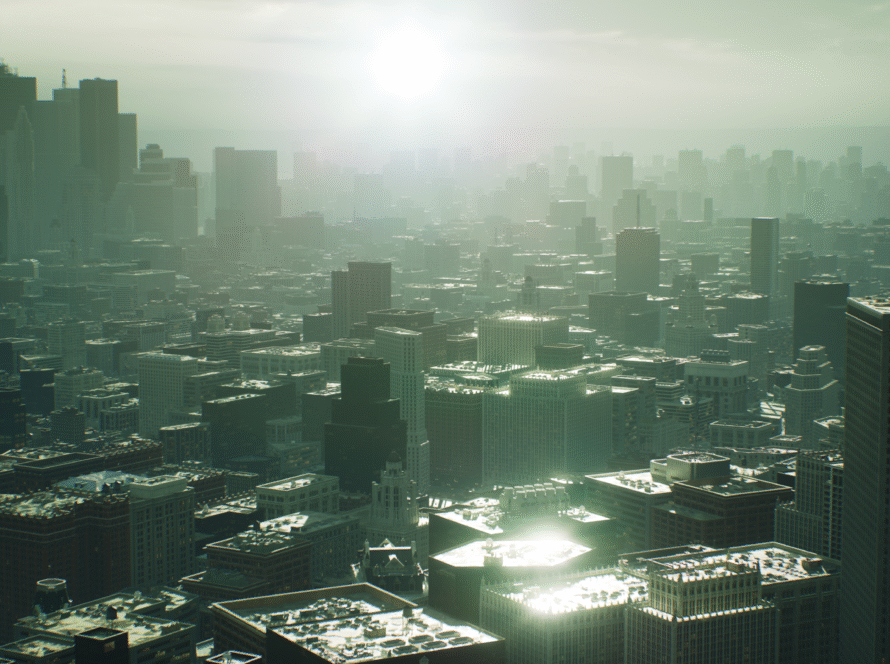
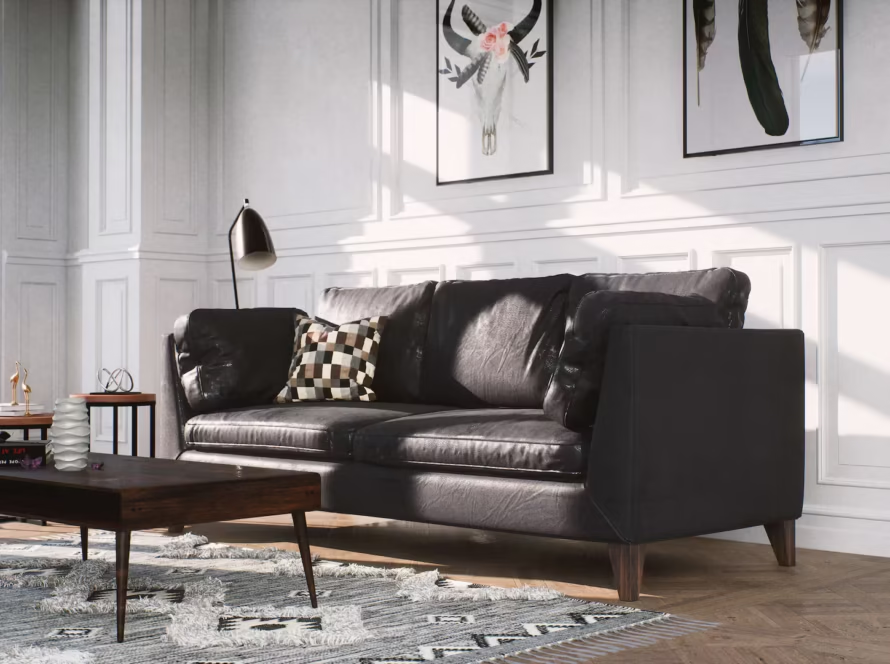
So, you’ve jumped into the exhilarating world of Unreal Engine for architectural visualization. The promise is undeniable: real-time walkthroughs, cinematic quality, unparalleled interactivity. But let’s be honest – transitioning from traditional renderers or even dipping your toes for the first time can feel like navigating a beautiful, yet occasionally treacherous, digital jungle.
I’ve been there. I’ve spent hours wrestling with inexplicable lighting glitches, watched framerates plummet into single digits during crucial client demos, and felt the soul-crushing despair of a corrupted project file. To save you from similar heartache, let’s dive into the top mistakes that plague Unreal Engine ArchViz projects and, crucially, how to avoid them like a seasoned pro.
Mistake #1: The “Import Everything, Optimize Nothing” Massacre
- The Sin: Dragging your multi-million-poly CAD model straight into Unreal, textures and all, and expecting smooth sailing. Unreal is powerful, but it’s not magic. Raw CAD geometry is often horrifically unoptimized for real-time rendering.
- The Pain: Crushing framerates, excruciating load times, lightmap baking failures, and potential crashes. Your stunning villa becomes a digital slideshow.
- The Fix:PREP IS KING.
- Decimate & Simplify: Use your 3D modeling software (Blender, 3ds Max, Maya) first to aggressively reduce polycounts. Remove unseen geometry (inside walls, undersides), use proxies for complex details, and leverage instancing for repeating elements (chairs, plants).
- Clean Topology: Ensure clean geometry. Ngons, non-manifold edges, and overlapping faces wreak havoc on light baking and collisions.
- Mind Your Scale: Double-check your units! Importing a model scaled in millimeters when Unreal expects centimeters (default) causes chaos with lighting, physics, and navigation.
Mistake #2: Ignoring the Sacred Lightmap UVs
- The Sin: Assuming Unreal can just “figure out” how to bake lighting onto your complex geometry with its existing UVs (usually meant for texture mapping).
- The Pain: Ugly, splotchy, or completely broken shadows and indirect lighting. Strange dark seams, light bleeding through walls, and an overall “amateur hour” look that destroys realism.
- The Fix:LIGHTMAP UVs ARE NON-NEGOTIABLE.
- Generate Dedicated UVs:Before importing, create a second UV channel specifically for lightmaps. This channel needs:
- Zero Overlapping: Every island must be unique.
- Minimal Padding: Adequate space between islands to prevent bleeding, but not excessive to waste texture space.
- Uniform Texel Density: Aim for consistent lightmap resolution across similar surfaces for even shadow quality.
- Unreal Tools: Utilize Unreal’s built-in UV generation tools for static meshes as a starting point, but often manual tweaking in your DCC is best for complex assets.
- Generate Dedicated UVs:Before importing, create a second UV channel specifically for lightmaps. This channel needs:
Mistake #3: Material Mayhem – The 500-Instance Master Material Monster
- The Sin: Creating one insanely complex “Master Material” that tries to do everything – wood, metal, glass, fabric, emissives, parallax – controlled entirely by parameters and texture inputs. Or, conversely, creating a unique material for every single variation.
- The Pain: Material compilation times that feel geological. Difficulty debugging. Unexpected performance hits from overly complex shaders. Bloat.
- The Fix:STRATEGIC MATERIAL HIERARCHY.
- Layered Approach: Create sensible parent/child material instances.
- Base Masters: Very simple (e.g.,
M_BaseOpaque,M_BaseTranslucent). Define fundamental properties. - Category Masters: Inherit from base (e.g.,
M_Wood,M_Metal,M_Fabric). Add common features for that type. - Specific Instances: Inherit from category (e.g.,
MI_OakDark,MI_BrushedSteel,MI_RedVelvet). Tweak textures, colors, roughness here.
- Base Masters: Very simple (e.g.,
- Keep Shaders Simple: Avoid unnecessary nodes in the core graph. Use Material Functions for reusable complex logic.
- Texture Streaming Pool: Be mindful! Too many unique high-res textures will overflow the pool, causing pop-in.
- Layered Approach: Create sensible parent/child material instances.
Mistake #4: Lighting Lazy – Relying Solely on Dynamic (or Baked)
- The Sin: Thinking Lumen (or Ray Tracing) solves everything, so you skip baking. Or conversely, baking everything and ignoring the flexibility and beauty of dynamic lighting.
- The Pain:
- Dynamic Only (No Bake): Can lead to noise, flickering, higher GPU cost, and less accurate global illumination in complex interiors on lower-end hardware/settings.
- Baked Only: Sacrifices real-time changes (time of day, moving lights), can look static, and struggles with dynamic objects casting shadows.
- The Fix:HYBRID IS YOUR FRIEND (USUALLY).
- Lumen/Ray Tracing: Fantastic for dynamic GI, reflections, and flexibility. Use for your primary lighting where interactivity or changing conditions matter. Optimize settings!
- Baked Lighting (Lightmass): Still crucial for achieving perfect, noise-free, high-quality static shadows and ambient occlusion, especially in complex nooks and crannies or for lower-spec targets. Bake major static elements.
- Mix Strategically: Often, baking static environment lighting and using dynamic lights for movable objects/interactive elements is optimal. Test performance and quality!
Mistake #5: Post-Process Poisoning
- The Sin: Slapping on every single post-process effect (Bloom! Lens Flares! Vignette! Chromatic Aberration! Excessive Color Grading! Sharpen! Grain!) at maximum intensity because “it looks cinematic.”
- The Pain: An image that looks artificial, noisy, muddy, over-processed, and distracting. Loss of detail and realism. Potential performance cost.
- The Fix:SUBTLETY AND PURPOSE.
- Less is More: Use effects sparingly and intentionally. What story are you telling? A bright modern space needs different treatment than a moody historical interior.
- Calibrate: Adjust sliders minimally. Does that bloom actually enhance the light source, or does it just make everything glow unnaturally? Does chromatic aberration add “realism” or just look like a broken screen?
- Lens Imperfections: Use VERY sparingly. Real architectural photography aims for clean optics.
- Color Grading: Essential, but avoid crushing blacks or blowing out whites. Aim for a natural, pleasing contrast and color balance that enhances the materials and lighting, not overpowers them.
Mistake #6: Physics Fiasco – Collisions Gone Wild
- The Sin: Ignoring collision meshes entirely or leaving everything set to “Complex Collision.”
- The Pain: Your character walks through walls. Or gets stuck on tiny decorative details. Or the entire scene bogs down because complex collision calculations are happening on every intricate piece of geometry.
- The Fix:CONTROLLED COLLISIONS.
- Simple Collisions are Key: For static meshes, always generate simple collision primitives (boxes, capsules, convex hulls) automatically in the import settings or manually within Unreal. This is vastly more performant.
- Complex Only When Necessary: Reserve complex collision (using the actual mesh) only for critical objects where simple shapes are insufficient (e.g., a detailed staircase railing the user needs to walk close to).
- Collision Presets: Set up and use custom collision presets effectively (
BlockAll,OverlapAll, custom ones for specific interactions).
Mistake #7: Scale & Proportion Blindness
- The Sin: Using assets (furniture, trees, people) that are wildly out of scale with each other or the environment, or setting the camera’s focal length to unrealistic extremes.
- The Pain: A scene that feels “off,” disorienting, or like a dollhouse. Loss of credibility and architectural intent.
- The Fix:REFERENCE AND REALISM.
- Real-World Metrics: Know standard dimensions (door heights ~2.1m, table heights ~75cm). Use reference images constantly.
- Human Scale: Always include accurately scaled human models for reference. They are the ultimate scale check.
- Camera Focal Length: Stick to common architectural photography focal lengths (24mm, 35mm, 50mm) for establishing shots. Avoid extreme wide-angle (<20mm) unless for specific dramatic effect (and be aware of the distortion). Use longer lenses (85mm+) for detail shots.
Mistake #8: Texture Trauma – Resolution Overload & Channel Waste
- The Sin: Using 4K textures for every single small object, or packing unnecessary data into texture channels (e.g., using a full RGBA texture where only RGB is needed).
- The Pain: Massive project size, long load times, potential streaming issues, and VRAM overload causing stuttering or crashes.
- The Fix:INTELLIGENT TEXTURE MANAGEMENT.
- Right Size for the Job: Use appropriate resolutions. A small decorative vase doesn’t need 4K; 1K or even 512 might suffice. Reserve 4K for large surfaces viewed up close (main walls, floors, hero furniture).
- Texture Compression: Use appropriate compression settings (
BC7for color,BC5/BC4for normal/roughness/masks where possible). Test quality vs. size. - Channel Packing: Pack multiple grayscale maps (e.g., Roughness, Metallic, Ambient Occlusion) into the RGB channels of a single texture. This drastically reduces texture samples and memory usage.
- Virtual Textures (VT): Leverage Unreal’s Virtual Texture system for large, unique textures like detailed terrain or massive atlases. It streams efficiently.
Mistake #9: Forgetting the “Visualization” in ArchViz (Poor Camera Work & Storytelling)
- The Sin: Creating a technically perfect scene but presenting it through boring, static camera angles with no sense of journey or narrative. Or focusing solely on grand exteriors and neglecting compelling interior views.
- The Pain: A sterile, unengaging presentation that fails to sell the design or evoke emotion, regardless of its technical quality.
- The Fix:DIRECT THE EXPERIENCE.
- Sequence it Out: Use Unreal’s Level Sequencer or Matinee to craft cinematic fly-throughs and walkthroughs. Control timing, camera paths, focal lengths, and depth of field.
- Storyboard: Plan key shots that tell the story of the space – the impressive entrance, the cozy living area, the functional kitchen, the view from the balcony.
- Humanize: Use subtle camera movement (gentle handheld simulation), incorporate animated elements (swaying trees, flowing water), and place characters naturally.
- Focus on Experience: Show how spaces connect, how light changes throughout the day, how materials feel.
Mistake #10: The “It Works on My Machine” Fallacy (No Testing)
- The Sin: Developing solely on a high-end workstation and never testing performance, visuals, or functionality on more modest hardware or the target delivery platform (desktop, VR headset, mobile, web).
- The Pain: The client opens the delivered package and it runs at 5 FPS, textures are blurry, lighting is broken, or interactions don’t work. Embarrassment and frantic troubleshooting ensue.
- The Fix:TEST EARLY, TEST OFTEN, TEST ON TARGET.
- Set Benchmarks: Define your target performance (e.g., 60 FPS on a GTX 2070, 72 FPS in Quest 2).
- Regular Profiling: Use Unreal’s profiling tools (
Stat Unit,Stat GPU,Stat SceneRendering) constantly to identify bottlenecks (CPU, GPU, Draw Calls). - Test on Min-Spec: Have access to (or simulate) the minimum specification hardware you intend to support.
- VR/Platform Testing: If targeting VR or other platforms, test frequently on the actual device. Performance characteristics and visual quirks can be very different.
- Packaging Tests: Regularly build and test packaged versions of your project. Things often break in packaging!
Bonus Tip: Version Control is NOT Optional!
Seriously. Use Perforce, Git LFS, or Plastic SCM. Unreal projects are complex. Things break. You will need to revert changes or collaborate. Don’t risk losing days of work. Set it up before you get deep.
The Takeaway: Embrace the Process
Unreal Engine for ArchViz is incredibly rewarding, but it demands a blend of artistic vision, technical discipline, and performance awareness. Avoiding these common pitfalls isn’t about restrictive rules; it’s about developing smart workflows that let the power of Unreal shine without the technical headaches.
By focusing on optimization from the start, respecting the engine’s systems (like lightmaps and collisions), managing resources wisely, and always keeping the end-user experience in mind, you’ll create not just technically proficient visualizations, but truly captivating and immersive architectural stories. Now go forth, build beautifully, and avoid those framerate fiascos!

